Friday, June 08, 2012

May 2012

This month has seen us working toward getting the house warm and liveable through winter.  Jack Frost has been painting everything (as described by our youngest) for a few weeks and it has been pretty cold inside too!  It was accentuated about 3 weeks ago when  youngest woke in the middle

of the night requesting a cold drink: it was only when I got back to the bed that I realised the 'familiar' jingling in the cup was ice.  Remains of his previous water had frozen during the night!

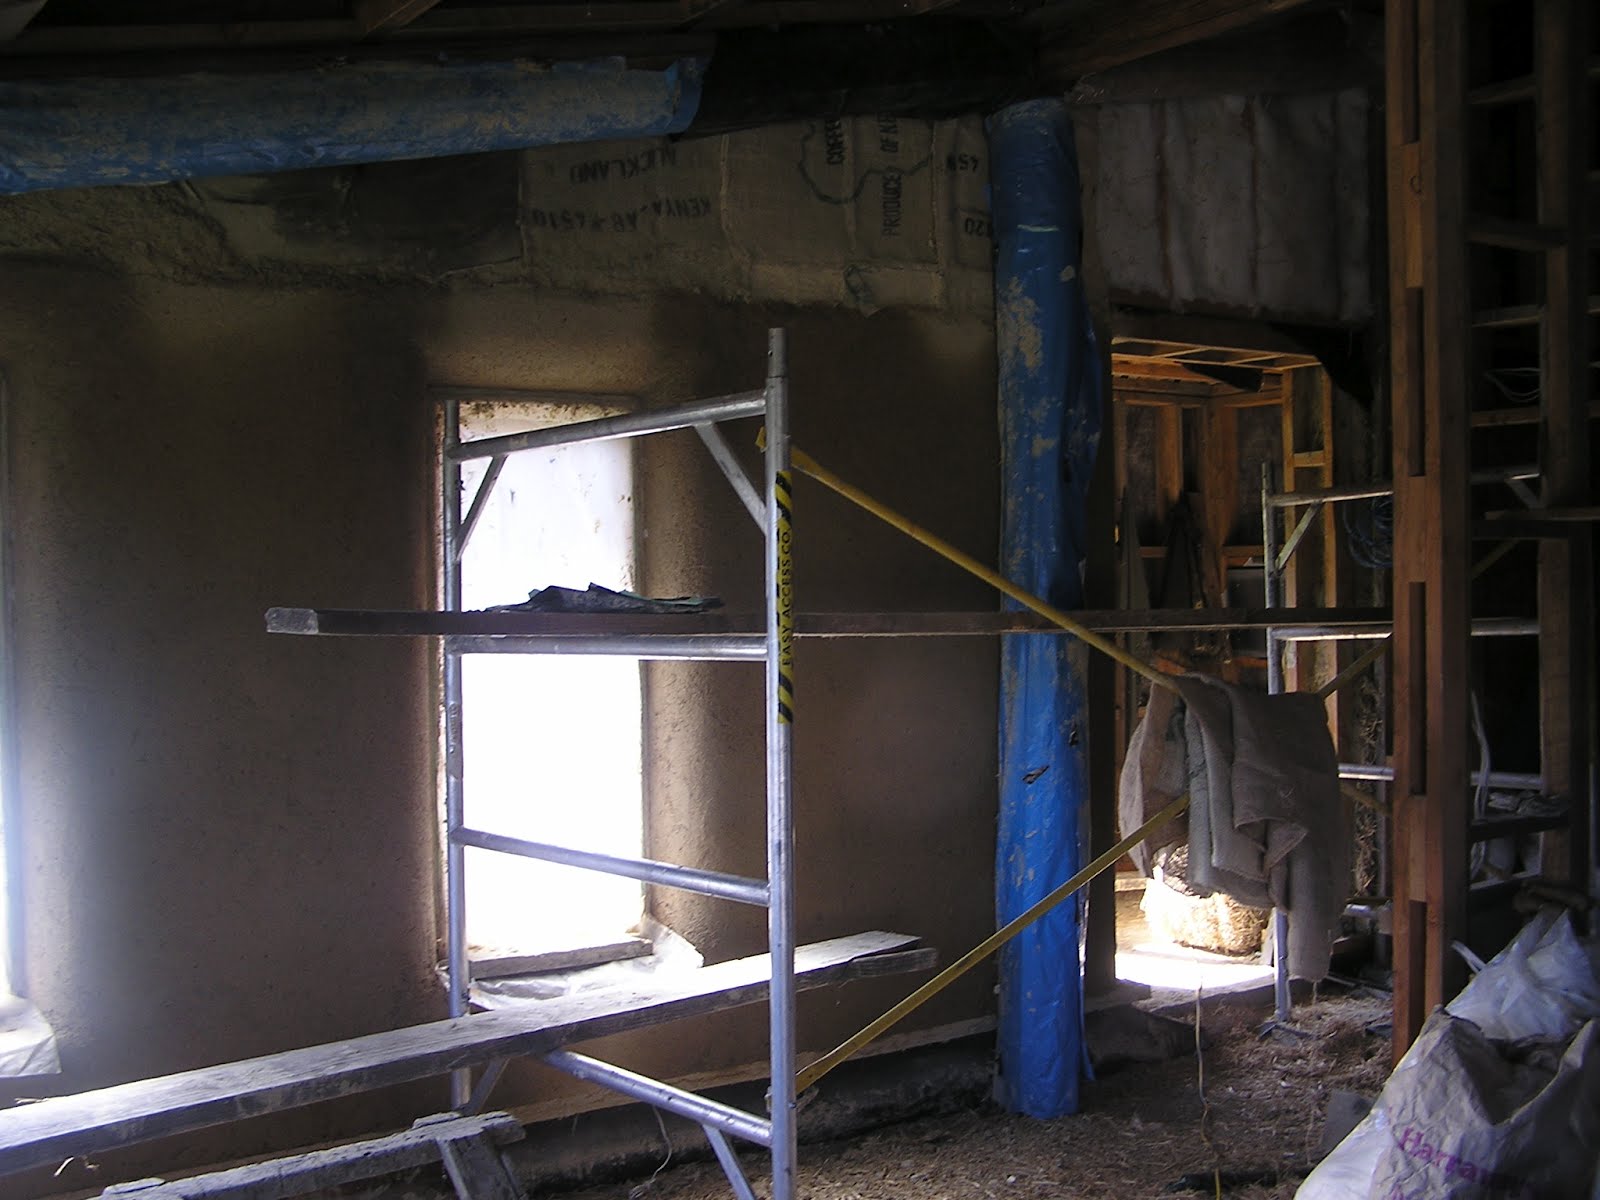
So thanks again go to wonderful friends who came around and helped put in a layer of newly delivered insulation.  That has helped tremendously; it doesn't matter how insulating those walls are if there's nothing but tin between  us and the stars it counts for nothing!!


The second part of getting the house warmed up has been a bit more of a mission.  We needed to get the range up and running.

Firstly we had to instal a hearth as it is required by council; just in case that hearth rug goes slipping up under the range and spontaneously catches light with a random spark....   As we are going to need a few rocks James went on a shopping spree to a friends quarry; Cluden Quarry just out of Tarras.  Not often I'm concerned about letting James loose with the finances, but those rocks are pretty tempting things: he did well though, showing great restraint!  Then we had to use an angle grinder and a hammer to get shaping and prepping the chosen rock for its  new life.


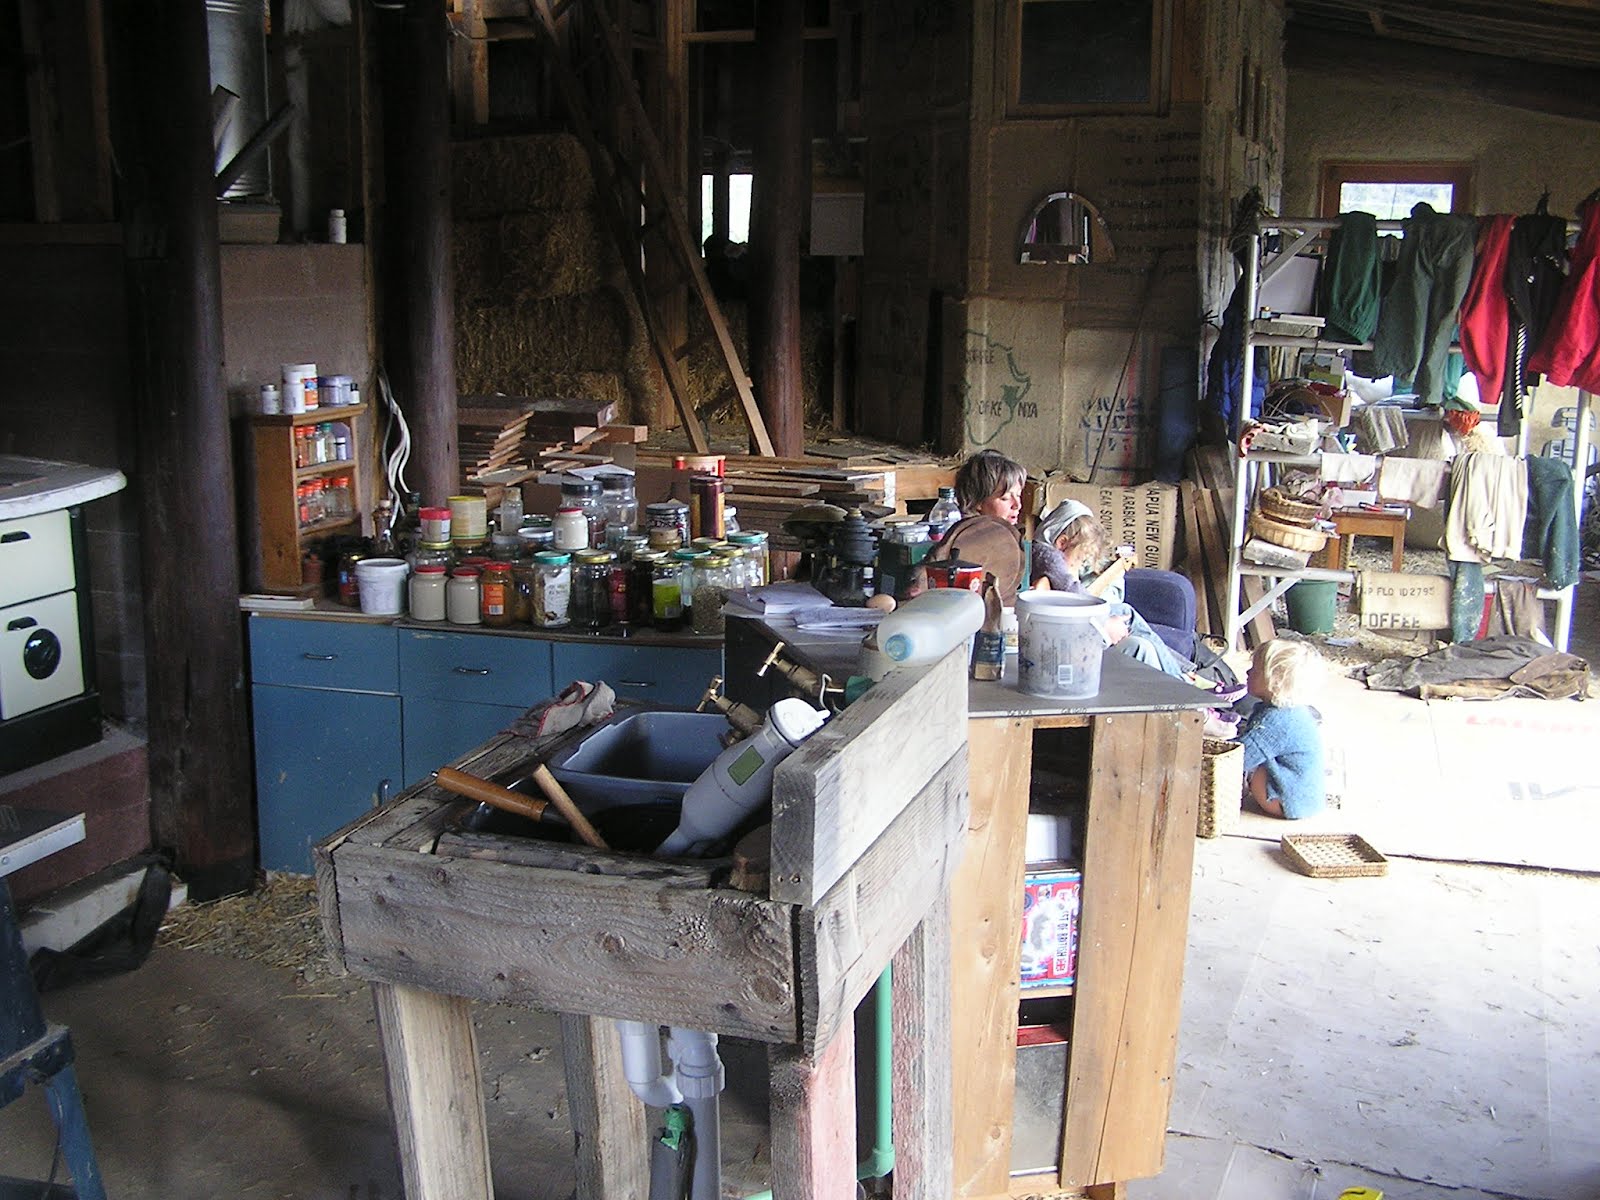
 Next on the agenda was getting the floor level up around the kitchen and putting a clay cap on it temporarily so that we can keep the ground  around the kitchen and stove free of flammables.  Living in a not-so-finished straw bale house means bits of straw get in far too many places; some are just uncomfortable; some could be pretty risky under a lit stove!  Great job by James building up with road metal then tamping down the Cardrona clay as a top.  Makes life way less dustier too.


OK, so there are a few rules in life it always pays to remember; one of those is to read the instructions!  In this case pertaining to the installation of one Shacklock 501 stove.  This was one of the more efficient models Shacklock made and we read (too recently) with some dismay that in order for it to be 'more efficient' a number of things needed to be careful done during installation.  So in our case, shifting it onto a bit of concrete just hadn't done the trick.  These things were usually put into a purpose-built, tightly-fitting brick chimney place.  Following the requirements to fill in around all the edges with a shingle or gravel substrate as an insulator and then plastering all the joins was therefore straightforward.  

Thankfully, after much deliberation and chatting through options with friends we came up with a solution.  Old (and free) concrete block were put down the one side and gravel packed between.

By coincidence a new neighbour who is interested in earth building came around one morning and offered to help - he knew of a source of free concrete blocks perfect for making a wall on the other side.  So whilst his little girl and our children played very contentedly, our neighbour proceeded to lay the blocks using a lime-cement plaster.  The result is just visible in the picture below.

The following day we called upon a couple of other friends to help us position the hearth stone.  Some strops and a couple of bits of 4x2 made the job possible with one of us on each corner.  My admiration for the skill of those Stonehenge builders is even more; 4 people with one heavy-enough stone over just a 15m stretch just doesn't even come close to what they achieved.  Thanks though to B & H for helping make our rock heaving possible.


We've nearly done it but there's still a bit more to do before the momentous occasion that the stove gets lit.  I've been pretty relaxed to date about the time things take, but that stove has been sitting asking to be lit for a very long time - I can tell you I'm pretty keen to stoke her up...

The plumbing!


After almost 2 years of patiently waiting, Greg (the plumber not plasterer!) leapt into action. The floor was transformed into a piping network. We had decided to keep to our original idea of a low pressure/header tank system but Greg patiently figured out our evolving ideas (such as deciding to harvest rainwater from our roof into a big concrete tank and so including a 3rd tap on the kitchen sink).


Restored brass taps, basin from salvage yard, basin stand made by friend and Nicky's lovingly repainted clawfoot bath!


Our improvised kitchen!


This shows more plumbing stuff and the stove flue. The stove has a 'wetback' (water jacket) thus will heat the hot water cylinder and the underfloor tubes. You can see the big steel header tank and the smaller black one for the underfloor heating. Old school approach!


Here is our 3 tank sewerage system by Autoflow. One is a for the kitchen and toilet waste; filled with gravels, wood chips, coir and worms. The next for grey water; gravels and wood chips. Final one, for the outflow from those two, percolates water through gravels before being pumped out to a dispersal field (yet to be done). Although not finished completely the water still looks pretty clean!


We scored a free 10,000L concrete tank and so have decided to catch rainwater from the roof in it in case the local aquifer is polluted in the future


Thursday, June 07, 2012

Jan - March 2012

The new year started with a flurry of activity. For 3 months we were helped by friends and WWOOFERS (willing workers on organic farms - check out the organisation for more info). Firstly Our dear friend Robert from Canberra came for a week or so. I can't find a photo but he patiently helped with making and installing moisture sensors and also designing and installing wooden pegs into bales as supports for skirting boards. The latter ended up as barbed pegs wrapped with insulation fluff and then not only hammered in but also rotated 2 1/2 times! This seemed to be the only way to hold them in place (i'm sure more competent SB builders have come up with a better technique; if so let me know!). The moisture sensors have, for me, been the bane of the whole build. They were included throughout the house as a precautionary measure so that the relative humidity of the bales at these points(such as under windows) could be checked with a moisture meter. Fiddly to make (i would buy them another time), fiddly to install (the bales are compressed so tight that we had to drill out the holes with an auger and again they're wrapped with insulation to prevent heat loss around them) and their whole system took a lot of thinking of how to make it practical to use (we opted for short lengths of wire to brass screws on skirting boards etc rather than loads of long wires going back to a testing board).
We then had 2 German sisters, Theresa & Beatrice. Amongst several 'jobs', they did a great effort in insulating the toilet & bathroom. There we used 'Novatherm'; made from recycled milk bottles in Milton (2 hours away). Unfortunately the plastic is sent to China to be washed and 'pelleted'; although i believe there may now be a plant in Auckland. Great stuff, anti-allogenic etc but doesn't have the moisture wicking properties of wool batts; the latter we have chosen to use in the roof cavity for that reason. (PS. having used both as extra blankets on our beds, the Novatherm appears to be warmer than the wool!)
Insulating the timber plate below the top strawbale infill wall; using the 'Novatherm' underfloor insulation. Great stuff; have used it in all sorts of places instead of stuffing with straw. R1.4 every 50mm in both directions and clay plaster adhers to it really well
During Theresa & Beatrices' stay we also had a belgium family come too; Louis, Caroline, Eleanor & Milo. During their week Louis put up a 'wall' of coffee sacks, stripped and installed 4 internal windows and did some SB infilling. The latter has been a long time coming. This section is above the main SB wall and isa wood framed wall supporting the exterior weatherboards. It was was originally going to be wool batts. However with so many bales left over we decided to infill. Not easy due to the studs but Louis did a great job tightly stuffing them in and then bracing with metal strapping tape.


The former is in preparation for plastering over an internal framed wall. Some people staple up old carpet (i've never liked the thought of old carpet in a new 'eco' house, plus it's a 2 person heavy job) but we experimented with different hessian products and rough coffee sacks seemed great. A waste product, super strong and plenty of 'roughage' for the plaster to key into. Fine for 1 person to put up (although getting them very tight requires patience) and although Louis initially used 14mm hand staples i now plan to reinforce the sacks with large compressed air staples.


Caroline found time to fully insulate the turret. No mean feat due to double 6x2 walls needing filling. We used wool batts and i think acheived an R value over 7! Being an eco-architect she had some important suggestions from a European perspective. The main one being the use of an 'intelligent' paper between the ceiling boards and the bottom of the insulation. There is 1 product available in NZ, Proclima; its expensive and seems great in a passive house context but i'm undecided in our situation

Wednesday, June 06, 2012

Nov 2011

After a quiet winter we restarted the project with a couple of wonderful working bees for the internal plastering of the front area. Another amazing experience with not just friends plastering but also bringing food as well. A very special time.
Greg, me and Nicky then quietly worked away for a couple of weeks afterwards just aligning corners and the like. We love the result. A fine finish clay/sand coat will be applied at a (much!) later date incorporating local coloured clays and handprints and whatever else we fancy on the day. The flowers were Ella's idea.
I was also busy restoring old brass window fittings. By soaking them in vinegar and gently working away with a soft wire brush they were restored to their former glory


We had collected a number of old taps; looking pretty tatty. We had them stripped back to the brass and voila!