 This area took almost as long as preping the bathroom slab area up; unbelievably. First stage was to insulate the inside of the footing walls with our collected poly scraps. Then the floor level was built up 350mm with compacted scalpings. Thin layer of sand then polythene over everywhere with it being tape sealed aong all joins etc. The posts were treated the same as the main house posts were; 700mm deep in concrete enclosed in a polythene 'sock' having been 'Mulsealed'. After much thought/research i decided not to insulate under this floor (obviously the subfloor will be insulated); a contraversial decision but one i will stand by. Instead i intend to exteriorally 'wing insulate' the southern and western perimeter walls. Check out:- 'http://www.thenaturalhome.com/frostwalls.htm. It seems to make sense, so we shall see
The finished clay floor level will be below the top of the footing wall; the sides of which had been insulated with poly and then DPM'ed. So this 400mm wide sloped section (from the floor to the top of the footing wall, if that makes sense!) was chicken wired and then concreted (to seal that area too), as I felt clay would not hold on the slope.

The floor bearers are from made from the rimu studs out of Paul & Michelle's house. The floor was a quick clay job, chucked down in a couple of hours over the polythene DPM; really just to seal it if the sub-floor area is ever used to store anything.
 I am pretty happy with the result as only small cracks and I will seal it sometime with a linseed/beeswax combi. Not an exact recipe; just used what i could get that day and what was lying around the section. 1 trailor load of 'Cardrona' clay (pretty pebbly stuff), 1/3 trailor load of our section clay silt, a couple of sacks of different sands and scraping up scalping leftovers around the place. Leave everything open to a rainstorm over night, mix in trailor, chuck down and run compactor over it a few times.
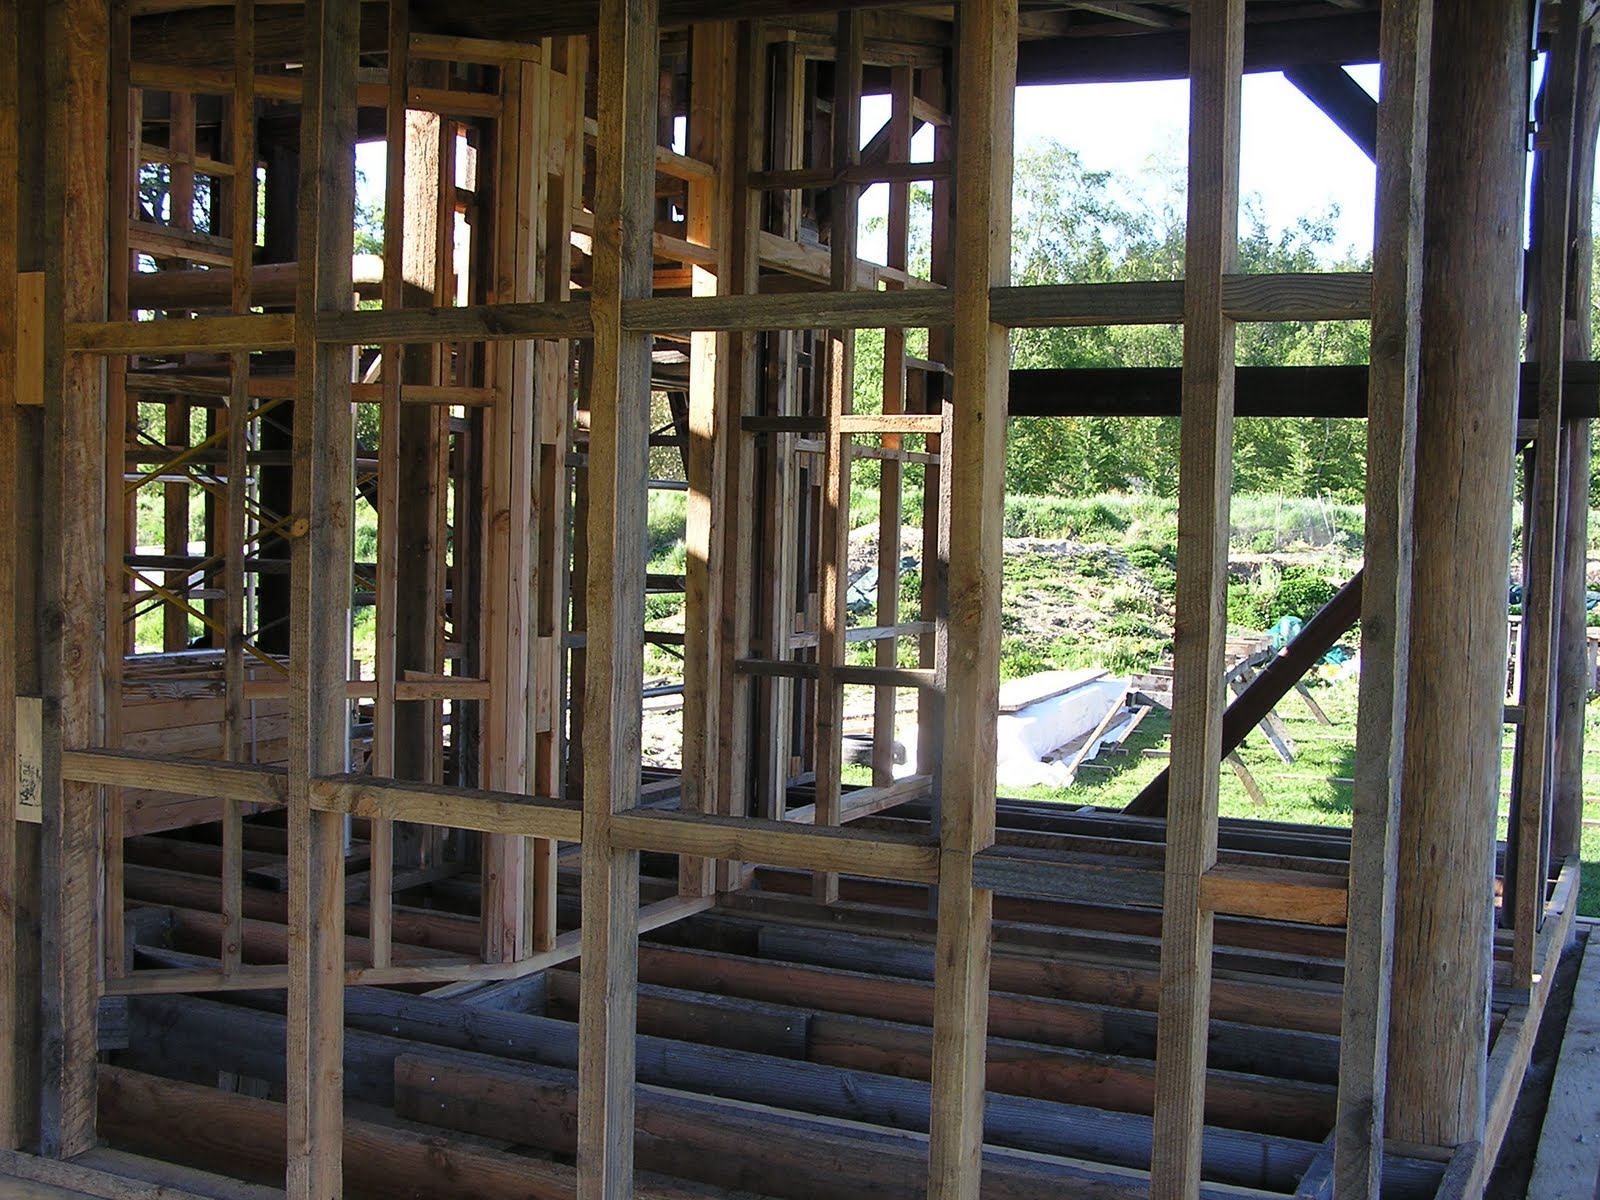 Details of the subfloor below both sleeping areas of the house. This is the children's area which you can see is partly partitioned (probably will be an earth plaster arch or something) so they can share the room for a few years and then it can be completely separated without too much more work. We have also allowed for 2 doors in the future; one of which will now be used for the entrance to the bigger single room and the other for the time being as a door into a closet within the bedroom. Nicky, Craig and I have discussed a lot about 'future-proofing' and how to design/build now to allow for possible changes in the future. Another future-proofing feature is a slab beneath this subfloor to allow for a small masonry heater to be built (i'll cover in another post).
 The west 6x2 wall for the turret between our sleeping area and the children's. This will incorporate a full height warbrobe/cupboard. The engineer precribed sheet bracing for both side walls of the folly; ie plywood or superbrace. The latter appears more inert but, after the recent Christchurch shake, we all thought (perhaps incorrectly!) that ply would be more effective as bracing. After researching heaps about ply offgassing etc, it appears 'Ecoply' offgases less formaldehyde than natural wood even though glues are still used.
 Our sleeping area to the left and the children's to the right. The sub floor has no real purpose other than providing a 'sense of occasion' and differentiation between the living and sleeping areas of the house. The beams for the mezzanine floor in our area can be seen.
No comments:
Post a Comment